How to install interlocking pavers correctly
Interlocking pavers are a huge trend in outdoor living spaces right now. They are a cost effective way to completely change the look and functionality of your yard and, if installed correctly, they should last a very long time. If you’re planning to install pavers, it’s important to do your research. But how do you know if your contractor is a professional or if it is their first time installing pavers? Well, there are some important things you should ask your contractor before signing a contract and things to look out for during construction.
Keystone Yards primarily works in Napa, Sonoma and Marin counties of Northern California, so the following construction methods apply to that geographic location. Different climates and other factors change the way you install pavers.
The very first step is that you need to excavate the area where the pavers will be installed. For a pedestrian area, you are going to want to excavate a minimum of 7.5″ below grade (the finished level of the pavers). For an area that will have vehicular traffic or heavy loads, you are going to want to excavate a minimum of 9.5″. In areas where large weights will be sustained (like underneath a hot tub) you will want to excavate 12″ or more. Exact excavation depths can vary depending on site conditions, but the above depths are a good rule to follow.
Learn About Keystone Yard’s Services
The next step is to compact the native soil. Most contractors use a vibratory plate compactor. The longevity of pavers is all about preventing things from sinking or moving in any way, so by compacting the native soil you reduce the chances of the soil settling over time and then causing low spots in your pavers. In most cases, you want to run the compactor over every square inch of soil twice. Proper compaction is a critical step when you install pavers to ensure long-term durability.
Once the soil is compacted, the next step would be to lay down Geotextile Fabric (Mirafi 500x is our favorite product). Geotiextile Fabric is “high-tenacity polypropylene yarns, which are woven into a stable network such that the yarns retain their relative position. Mirafi 500x geotextile is inert to biological degradation and resistant to naturally encountered chemicals, alkalis and acids”…That’s just a really fancy way of saying of saying it’s very strong and won’t ever rot or decay. Especially in California, the ground is constantly moving. You probably only ever notice the occasional earthquake, but the ground is slowly moving every minute of every day, always. Overtime, these little movements add up and you can start to see separation of your pavers (cracks). This fabric helps prevent that. It keeps the native soil from mixing in with everything you build above it, which we’ll explain in the next few paragraphs. If for some reason the soil moves or sinks or shifts or does anything unexpected, this fabric acts as a bridge and helps prevent everything above it from moving as well.
Once your geotextile fabric is down, you are going to install 4″+ of Class II Road Base (6″+ for a vehicular area, 8.5″+ for an area with sustained weight). Class II Road Base is a combination of cement, sand and aggregate. This is what helps give the paver patio it’s strength. Once you put the base rock into the ground, you are going to want to screed it (rake it out so its approximately sloped the way you want it) and the sprinkle it with water. Too much water and it becomes a mess, not enough water and you don’t fully activate the cement. Once you have the right amount of water mixed into it, you run a plate compactor over the base rock 2-4 times until it is fully compacted. If you try and compact an area that has too much base rock (too deep) then they vibrations from the plate compactor will compact the upper layer but the lower areas will remain uncompacted. This is a rookie mistake and is the cause for a lot of failed paver projects. At MOST, you want to compact your base rock in 3″ increments to ensure that you are fully compacting the base rock. For a normal paver patio with 4″ of base rock, we would install 2″ and then compact it 2-4 times, and then add 2″ of additional base rock and compact that 2-4 times. After it has been compacted and given a few hours to dry, you should have a nice, firm surface.
Since base rock is coarse material and appears a little lumpy after you’re done compacting it, you need to somehow get that surface PERFECTLY smooth below laying down your pavers. This is where the Bedding Sand comes into play. Bedding sand is made of very fine particles (anywhere between a grain of sand up to 1/4″ diameter) that you screed over top of the base rock. This is where the detailed work begins. Before putting down the sand, you will need to figure out exactly how you are going to slope/pitch the pavers. Once you have that figured out, then you can put down the sand and screed it so it is perfectly sloped the way you want it. There are many different techniques to do this and it can change with each situation, but the most common way to do this is to use steel or plastic pipes laid on the ground and then slide another rail or pipe horizontally over top of the pipes laid on the ground. Once you have screeded the entire area, you are ready to install the pavers.
Also Learn About Keystone Yard’s Comprehensive Landscaping Services
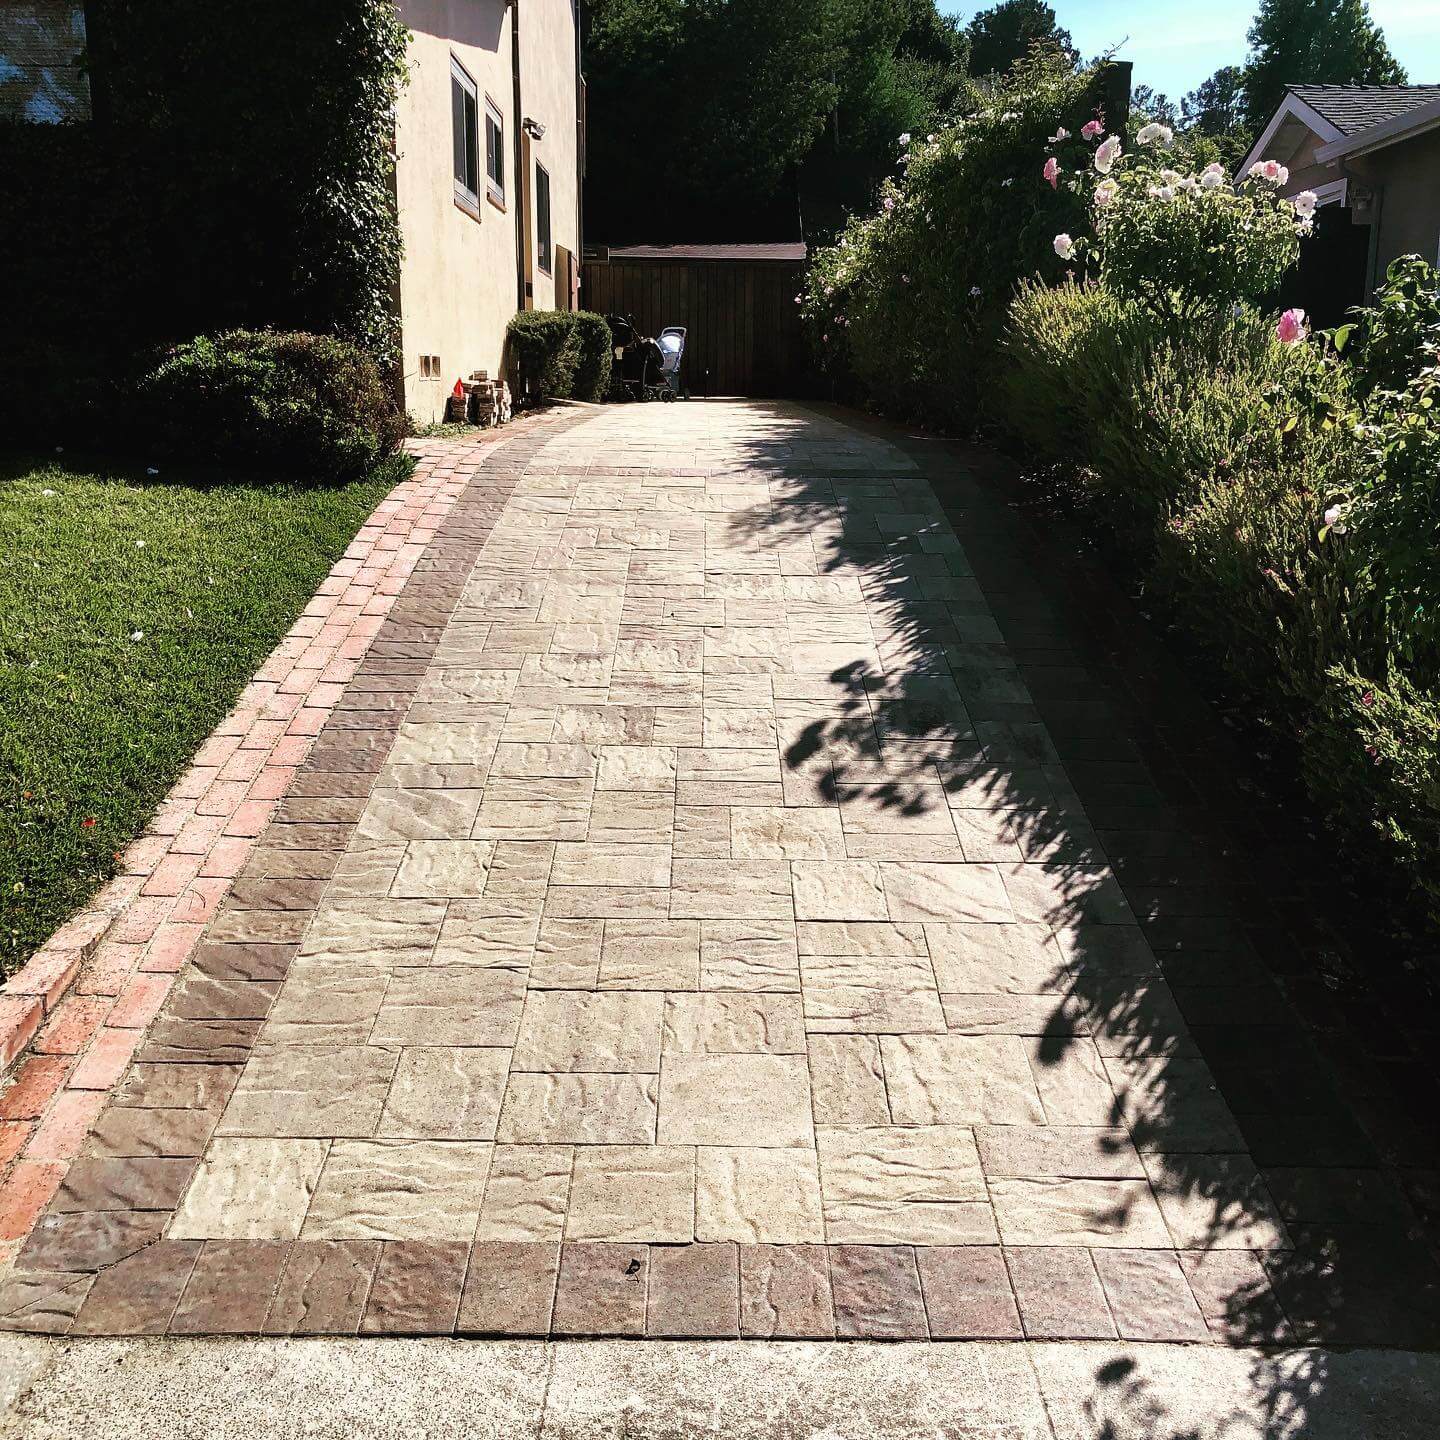
The very first paver you put down (The Keystone, hence our name “Keystone Yards“) is the most important paver since it is going to dictate the angle, orientation, location and position of every other single paver. If this paver is set even as little as one degree off, it can cause problems later on. There is very little room for error here. Most contractors use a combination of string lines and lasers to figure out exactly where the first paver goes, and this can take some time. Once you have that figured out, then you’re ready to start laying the entire “field pattern” of the pavers. Pavers come in many different shapes and sizes and they can be installed with many different patterns, and good installers should be very familiar with installing many different patterns.
Once the entire field paver area is down, you may need to do some cutting around the edges to get the exact shape or dimension you are looking for. If you have a curved path, this is when you would cut the curves into the path. This is where having skilled workers is essential. It is things like these curved cuts that separate the ones who think they’re professionals from the ones who actually are. Cutting a curve into a patio may sound easy, but the devil is in the details. When you install pavers, precision in these finishing touches makes all the difference.
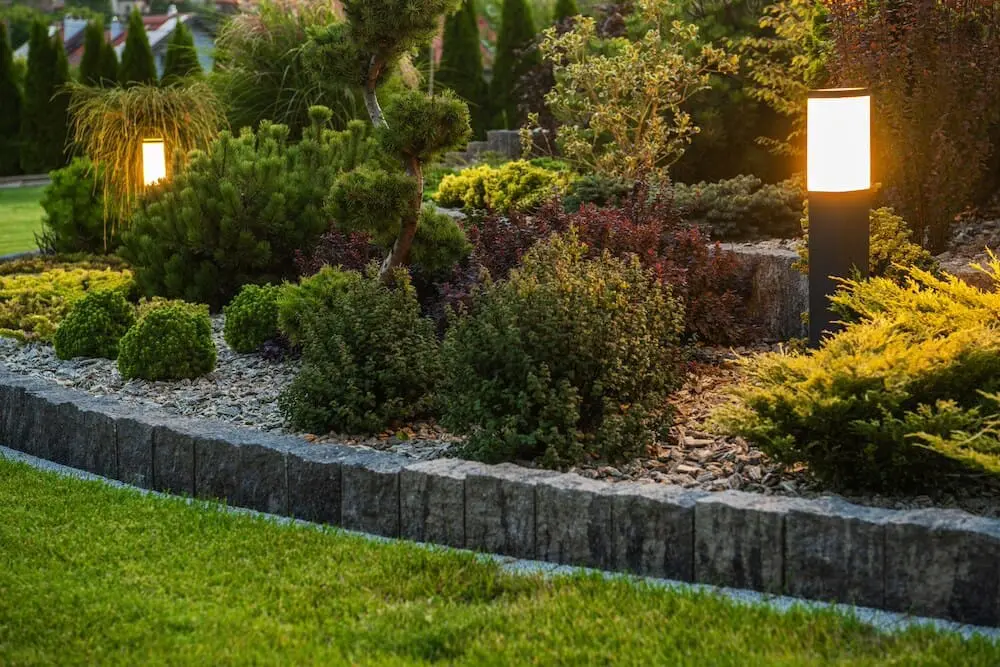
Once the entire field area is installed and your edges are cut the way you like them, it is time to install the “Border Stone”. The Border Stone is the paver that goes around the entire perimeter of the pavers and is often time a different color or shape to help give the patio a pop of contrast. In order to help keep the entire paver area from sliding outward and falling apart, these border pavers need to somehow be restrained to keep them from sliding out. Some contractors use a concrete bond beam (3-6″ of high-strength concrete) under the pavers to do this, and others using plastic edging. In our opinion, the concrete bond beam is infinitely superior to plastic edging. It looks better, it works better and it lasts longer.
Learn About Keystone Yard’s Outdoor Design & Remodeling Services
After the border pavers are done, the next step is to hose down and scrub the patio so it is 100% clean. The pavers are usually dirty after the installation process, so this is where you get the chance to clean them off and get their beautiful color to come back out. Once the pavers are 100% clean, you have to wait for the pavers to be 100% dry before moving onto the next step. This is an important finishing phase when you install pavers, ensuring the best final appearance.
The final step is to install polymeric sand between the joints of the pavers. It is CRUCIAL to make sure the pavers are 100% dry or you can really mess this final step up. Once the pavers have completely dried, you take polymeric sand (sand with water-activated glue mixed into it) and you dump it all over the pavers. Then, you use a broom and/or a leaf blower to push the sand into all of the joints. The sand should fill in the joints, but since the joints are usually only a 1/16″ big, sometimes the sand doesn’t sink all the way down. This is why after you have swept the sand into all of the joints, you take the plate compactor and run it over the top of all the pavers. This helps shake the sand down and fill in the joints completely and helps to “interlock” the pavers, hence the name “Interlocking Pavers”. After all the joints are completely filled, you want to sweep off or blow off all of the excess sand and clean it up.
Then, you will take a hose and soak the entire paver area. This isn’t very difficult to do, but it’s easy to screw it up if you aren’t sure what you’re doing. You need to completely soak one area at a time so that the water can penetrate all the way down the joints and activate the glue in all of the sand. If you just add a little bit of water, or add a little bit of water and then come back later and add more water, the sand at the top of the joint has already hardened so the water is prevented from penetrating all the way down. If you add too much water too quickly, you can wash out all the glue and then the sand doesn’t stick in the joints like it is supposed to. Once the entire are has been hosed down properly, you will see foam on top of the pavers. You want to hose this off the pavers because if this foam hardens on the pavers you can end up with an ugly “haze” all over the top of the pavers which is very difficult to clean.
Also Learn About Keystone Yard’s Premier Masonry Services for Outdoor Living
As you can probably tell, installing pavers is not rocket science. However, because it is perceived as being “relatively easy” by some contractors, you end up with a lot of contractors trying it out who don’t fully understand the process and the logic behind each step. These are the paver patios that look beautiful when they are done but then 5 years later are completely falling apart. When you go out and get three competitive bids, you will probably find a contractor who comes in around $20/ft, another contractor who comes in around $25/ft and another contractor who comes in at $30 or more. It is not possible to charge $20/ft and do all of these crucial steps correctly. As a customer once told me (she hired us to fix the last guys mistakes) “sometimes it costs you more to pay less”. What she was really saying is she wished she had paid more from the beginning to have it done right. Or, as another customer once told me, “the only thing more expensive than a good contractor is a bad contractor”.
Again, what they were really saying was after you account for the cost to fix everything the first guy messed up, it would have been cheaper to go with the higher quote from the beginning. And if you come across a contractor who is charging you over $30 per square foot, simply put, that’s an unfair price and they are charging you too much. The only exception to that is if you were using a higher-grade material or if there were additional difficulties with your project like access issues, extra demolition, etc. Always get multiple quotes before you install pavers to ensure fair pricing and quality work.
The best thing you can do when hiring a contractor to install pavers is ask lots of questions to find out if they know what they are talking about. Ask them to describe the install process in detail and the materials they’ll use. You’ll probably be able to tell from their explanation if they seem confident or not, and that should tell you all you need to know. If you are ever unsure of who to hire or if the information a contractor is giving you is fair and honest, Keystone Yards is happy to have a phone consultation with you for absolutely no cost. We give out advice for free. If you live in Napa, Sonoma or Marin county and you feel like you need an unbiased opinion from a contractor who isn’t bidding on your project, call us and we’ll give you our opinion, no money needed, no strings attached.