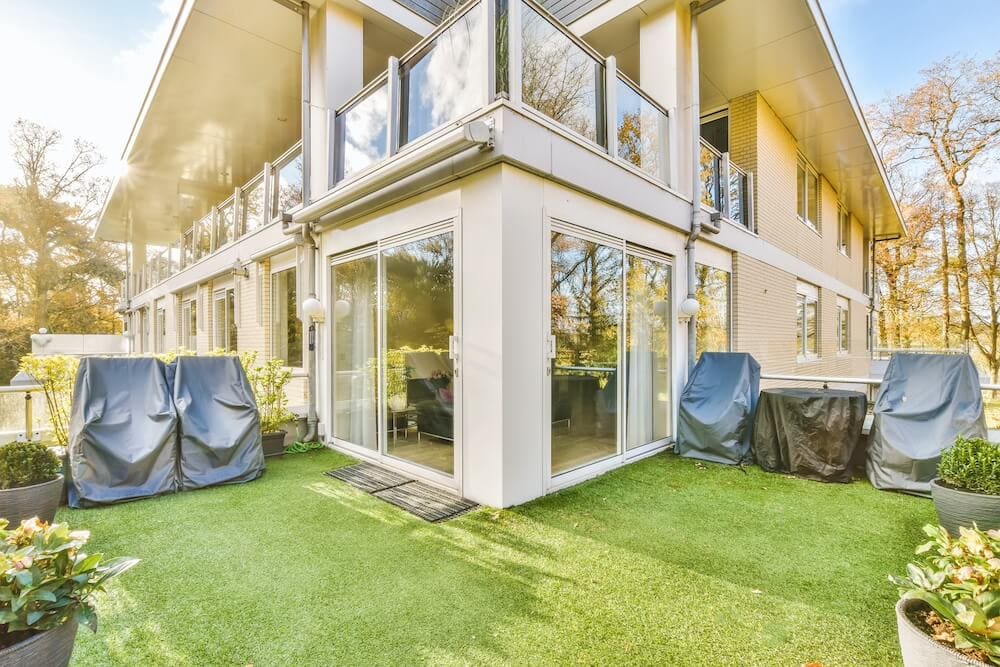
Artificial Turf: dos and don’ts
With a drought in California that never seems to end, Artificial Turf is becoming more and more popular among homeowners. In addition to eliminating water usage for your lawn, it also eliminates almost all maintenance required to keep your lawn green and beautiful year round.
Lots of contractors are now installing turf and they all have slightly different means and methods, but among industry experts there are a few facts that we all agree upon for a correct installation that will survive the test of time. Below is the most common, and most correct, way to install artificial turf.
- The first step is demolition and excavation of the existing site conditions. Every property has it’s unique differences, but in general, you want to excavate to a minimum depth of approximately 4″. It’s also important to remove and roots or weeds that you find because these tend to grow back over time and can have a negative impact on the lifetime of your turf.
- Once the area is excavated and all roots, weeds and other debris has been removed, you’ll want to take a plate compactor and run it over the native soil at least twice. This helps compact the existing soil and will prevent sinkage in the future.
- The next step is to take commercial grade weed fabric and ay it over the entire area that you will be installing the turf. Since weed fabric comes in rolls at a pre-determined width, several pieces of weed fabric will need to be laid down and overlaid a minimum of 6″. If you don’t overlap the weed fabric, weeds can grow in between the two pieces of weed fabric and make its way to the surface of the turf. It is also important to secure the weed fabric to the existing soil using landscape staples. One staple every 1′-2′ usually does the trick.
- The next step is to install a minimum of 3″ class II virgin base rock. Once the base rock is laid in the ground, you use a combination of steel/plastic rails and a “screed board” to screed the base rock to the approximate contour you are looking to achieve. Once contoured correctly, moderately soak the base rock (this activates the cement dust contained in base rock) and then run the compactor over the base rock. You want to run the compactor over the base rock a minimum of two times. This ensures the base rock reaches it’s highest density which prevents the turf from sinking in the future.
- Once the base rock has had time to dry out (about an hour usually, but it depends on the weather that day), you want to apply approximately 1/2″ of non-stabilized decomposed granite over the base rock. Then you want to “screed” the decomposed granite just like you screeded the base rock, but this time being much more detailed about exactly how you contour the decomposed granite. If you make the decomposed granite perfectly smooth, the turf will look and feel (to your bare feet) perfectly smooth. If you screed it and leave bumps and divots, the turf will look and feel (to your bare feet) uneven. Once the decomposed granite is contoured exactly how you want it, you’ll want to run the plate compactor over it just one time.
- Different companies do this next step differently, but we prefer to then take a soft-bristle broom and gently broom the decomposed granite, just once, to really make sure its perfectly contoured. This helps level out any tiny imperfections in the contour.
- Now we are ready to begin to install the turf. Turf typically comes in 12′ or 15′ wide rolls, but you can order it to whatever length you want. It is best to have a contractor order the turf in such a way to eliminate wasted turf, just like you would with interior carpet. When the turf suppliers ship the turf, it is rolled up and it’s likely been rolled up like that for months in a warehouse so the blades of the turf have a tendency to bend in one direction. It is very important when you install turf to make sure the direction the blades are angled faces the direction where the turf will typically be viewed from. This is the perspective that gives it the most realistic look. You don’t have to do this, and not all situations allow you to do this, but when it is possible it is considered best practice.
- If the turf area is going to be wider that the width of the roll, you will need to “seam” together multiple pieces just like you would with carpet. This is the skill that separates a good contractor from a great one. A great contractor can make the seam nearly invisible. Not 100% invisible, but close enough where you really have to struggle to find the seam. There are two methods to seaming the turf, which is “straight-line seaming” and “super seaming”. Straight-line seaming is where the seam runs in a perfectly straight like, and super seaming is where the seam is cut into an “S-curve”. One option isn’t necessarily better than the other, but some contractors find that the Super Seam makes hiding seams easier. We do both, it just depends on the situation.
- Once you have laid down all of the rolls of turf, cut the seams properly, and cut off any excess around the perimeter of the turf, it comes times to secure the turf down to the ground. Again, there are many different styles to do this and no one way is the only way to do it. Typically, contractors will install a non-galvanized nail every 4″-6″ around the perimeter of the turf, and then every 4″-6″ along the seam. Then, in the middle part of the turf, you add nails to hold that area down as well. In most construction applications you would not want to use non-galvanized nails because they rust, but in the case of turf you actually want the nails to rust. Once you nail down the turf, sinking the nails low enough to be invisible and impossible to feel with your feet, the nails will begin to rust because they are in contact with ground moisture. As the nail rusts, it expands in size and the rust begins to grab on to the surrounding soil. This helps prevent the nails from backing out and lifting up.
- After the turf is installed, cut to size and nailed in the ground, the next step is to rake the blades of the grass against the grain to help them stand up vertically. We use a powerful electric broom to do this, and while the blades are standing up vertically, you drop in “turf infill” which looks like green sand. Spread this around the turf area evenly, and then run the electric broom over top to help the sand sink down to the bottom of the turf blades. After that, take a hose and hose down the entire turf area. This will help the turf infill condense and sink even further down to the bottom of the blades. This infill serves several purposes. First, once it gets packed down at the bottom of the blades, it helps prevent the blades from leaning back over, making it look more realistic for a longer period of time. Second, it is a natural deodorizer, so it helps to hide smells such as pet urine.
- Lastly, as all good contractors should do, take a walk around the entire turf area, check to make sure everything looks perfect, and touch up anything that needs to be touched up.
Keystone Yard’s Offers Comprehensive Landscaping Services
When choosing what type of turf to select, there are a few factors to consider:
1. Color: Most turfs are green, but there are many different shades of green. Colors range from a bright, emerald green to a darker, forest green. It is all personal preference, but we find that the darker colors tend to look better.
2. Sheen: Do you want the turf to look shiny or more of a matte/flat finish? We believe the matte/flat finishes look better but, again, it’s all personal preference.
3. Blade length: Shorter blades are easier to clean, especially with pet waste, but the longer blades tend to look more lush. If you have a pet or young children who might make a mess on the turf, a shorter blade may be the better option. If you want to optimize the turfs look, go with a longer blade.
4. Cost: Everyone’s favorite topic! Turf itself isn’t too expensive, the material usually runs between $2.50-$4.50 per square foot, but you also need to order extra to account for waste. Depending on the size and shape of your yard, your waste factor could be as little as 0% or it could be 50%, it all depends. You’ll also need to order bags of infill for the turf, typically at least two bags per 100 square feet, and those bags are around $40 each. Lastly, you’ll need non-galvanized 6″ nails. A 25 lbs. box can usually cover around 300 square feet, but it all depends on the size and shape of the turf area.
